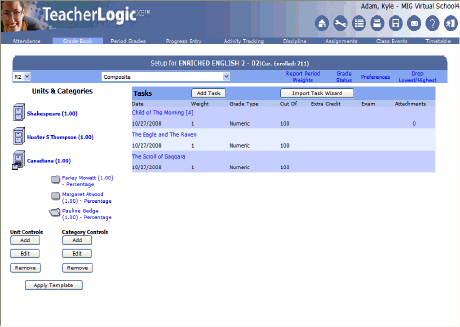
If a task is setup as an assignment then on the Setup page an attachment can be added to it. Only tasks that are set as an assignment can have attachments because there is no place in HomeLogic to view the attachments of plain tasks. This is adding the attachments to the "assignment" portion of the task. The Attachments are saved in the exact same way as if they were attached through the assignment page. The user must first save the task as an assignment before they can add any attachments.

Click the number in the  column of the Setup page to attach a document. Students and parents will have access to the attachment if the assignment is displayed in HomeLogic.

The Attachment Manager form will open. Click .
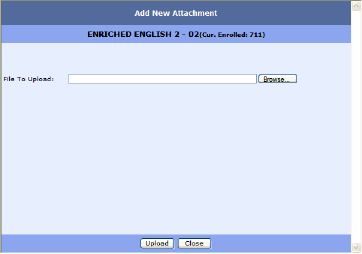
Click the button to locate the file you wish to attach to the assignment.
Note: The file can be a Microsoft Word document, a Notepad document, an image (bitmap, JPEG, or GIF), or just about any other type of file.
Once you click , the following form will display:
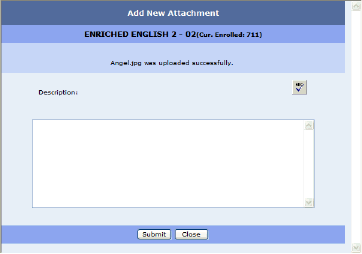
You can enter a description of the attachment to help identify the attachment.
Click  . The following message will display.
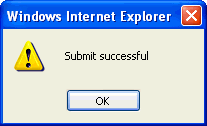
Click to finish uploading the document.
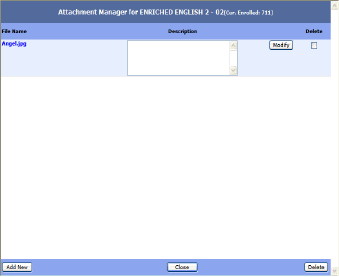
From the Attachment Manager, you can click to add another file or to alter the description for the file.
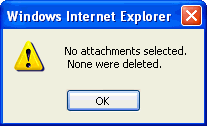
Select the and then click the button to remove the attached file from the assignment. If you click without selecting a beside the assignment that you want to remove, the following message will display.
Click  to return to the main Setup page.
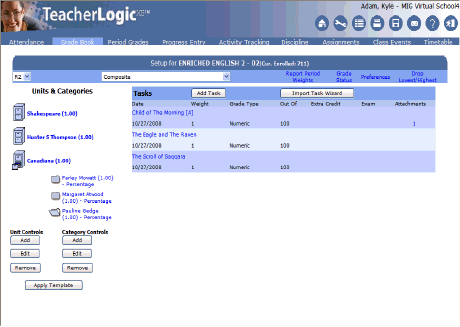
A number below the Attachments link on the Setup page will indicate that an attachment exists for the task. To review the details of the attachment click on the number to open the Attachment Manager form.